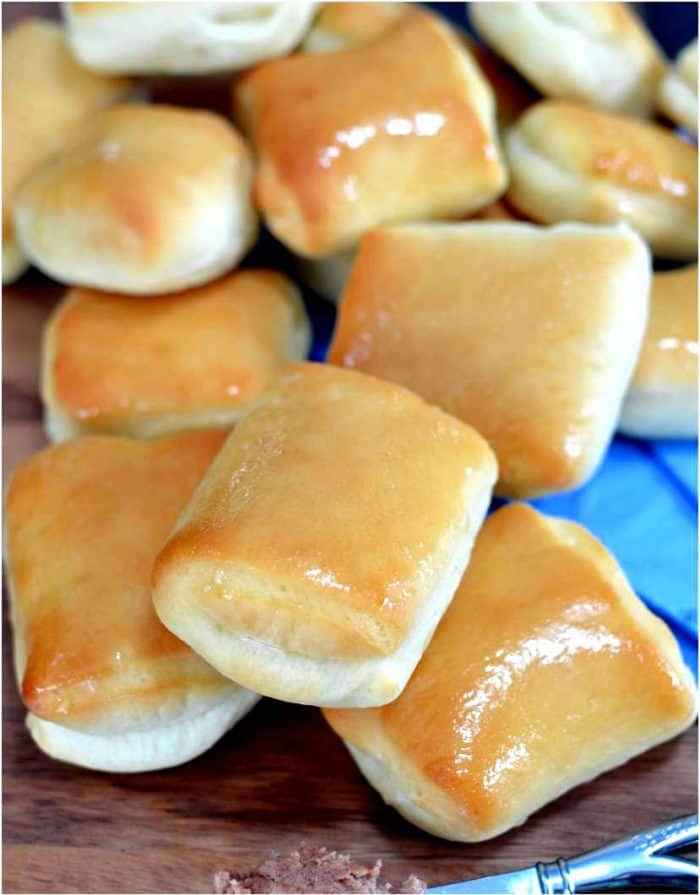
These Copycat Texas Roadhouse Rolls are brushed with sweet honey butter and can be made in a bread machine or by hand! A perfect side dish idea for holidays and family dinners!
INGREDIENTS
- Active Dry Yeast -See below for using Rapid Rise instead
- Milk
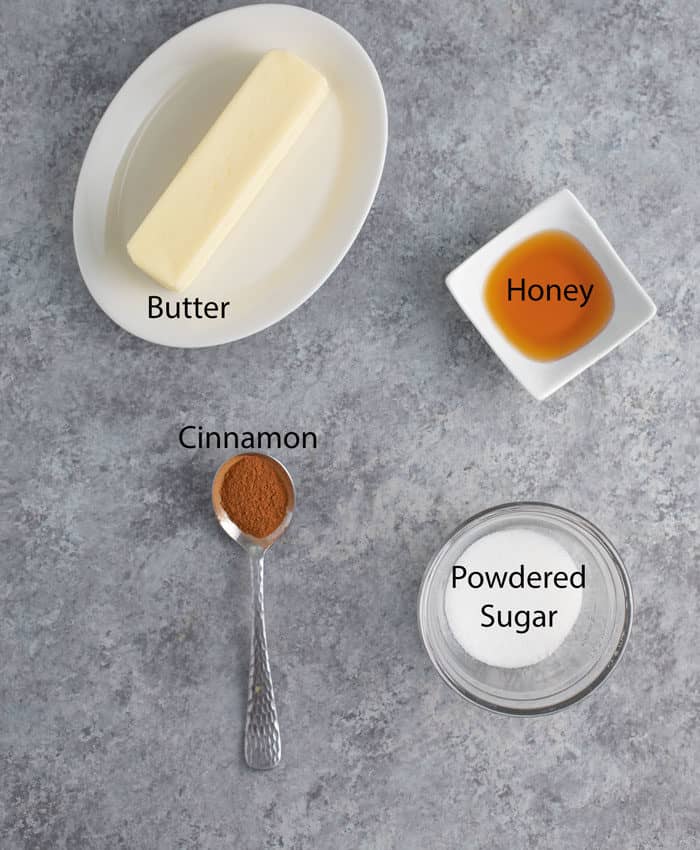
- Honey
- Butter
- Egg
- Salt
- Flour- All-purpose or bread flour may also be used
Subbing Instant/Rapid Rise Yeast for Active Dry
- Cooks Illustrated recommends using 25% less yeast if using Instant instead of Active Dry.
- In this recipe, that equates to 1 + 3/4 teaspoons.
- Combine the yeast with the flour instead of adding it to the warm milk.
- Proceed as outlined, no need to let the milk stand for 5 minutes after combining it with the honey.
Can These Be Made Ahead of Time?
–Yes! Here’s how to make these rolls ahead of time:
- Bake for no more than 12 minutes, before the tops start to brown too much.
- Don’t top them with the melted butter yet. Let them come to room temperature and store them in an airtight container.
- When ready to serve, bake for a few minutes at 350°, until the tops are golden brown.
- Top with melted butter and serve!
Can You Use a Bread Machine?
- Yes. Add the ingredients to a bread machine in the order listed in the recipe card and select the dough setting.
- From there, proceed with rolling and cutting the rolls. Place them on baking sheets, cover, and let them rise until doubled in size.
- Bake and brush with honey butter.

How to Make Dough Rise:
Dough needs a warmer environment in order to rise. If you’re having trouble, try these tricks. Note: it may take the dough longer to rise with these methods:
–Method #1: (?My favorite)- Preheat the oven to 315° F and place the bowl on top of a warm spot on the oven. For me, the warmest spot is right in the front of the oven between the front two burners.
–Method #2: Place a baking tray on the bottom rack in the oven. Remove the top rack. Boil water and pour it into the tray, then place the bowl of dough on top and close the door.
-Method #3: (Assuming you have a warm place for the dough to rise but it still isn’t)-Take a new package of active dry yeast and mix it with 1/4 cup of warm water and 1/2 teaspoon of sugar. Let it sit for 10 minutes until it starts to foam. Knead the yeast mixture into the dough, and place it in a warm place to rise.
Texas Roadhouse Rolls
Servings
24 ROLLS
| Prep Time 1 HR | Cook Time 15 MINS | Time 1 HR 45 MINS |
| Author Zeeshan | Course SIDE DISH | Cuisine American |
These Copycat Texas Roadhouse Rolls are brushed with sweet honey butter and can be made in a bread machine or by hand! A perfect side dish idea for holidays and family dinners!Ingredients
Ingredients
- 1 ¼ cup Milk
- 1 teaspoon salt
- 4 Tablespoons melted Butter, separated
- 1 large Egg at room temperature
- ¼ cup Honey
- 4 cups all-purpose Flour or Bread Flour
- 2 ¼ teaspoon Active Dry Yeast or 1 packet
Instructions
- If using a bread machine, see next section below.
- Bring the milk to a boil. Remove it from heat and let it reduce lukewarm, between 80-90 degrees.
- Mix the milk, yeast, and honey in a small bowl until well combined. Let it sit for 5 minutes.
- In a large bowl, mix 3 tablespoons of the butter, the milk mixture, the room temperature egg, and 2 cups of flour. Mix slowly until smooth. (Use a mixer with a dough hook if you have one, otherwise it works by hand.) Gradually add the remaining 2 cups of flour and mix until a dough has formed.
- Add salt, and mix/knead for 8 minutes. Then drop the dough onto a floured surface and knead for a few more minutes.
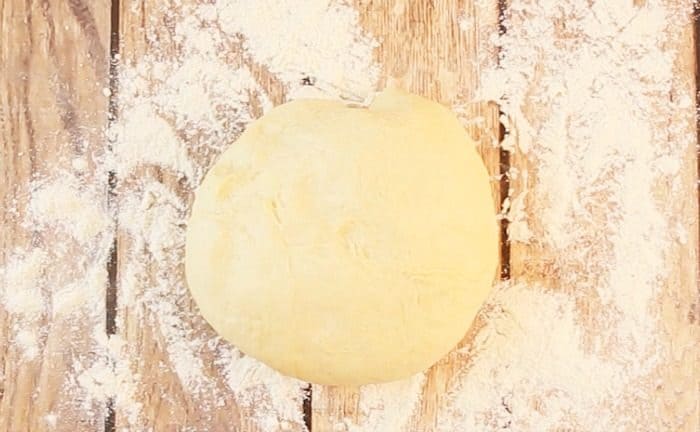
- Spray a large bowl with cooking spray and drop the dough inside. Cover the bowl (plastic wrap or a damp cloth works) and let it rise for an hour in a warm place.
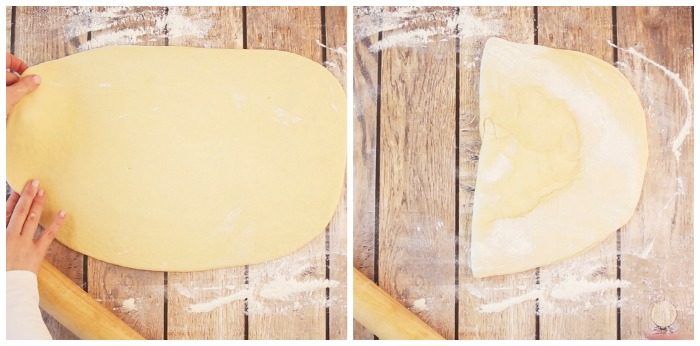
- Punch down the dough and roll it out on a flat, floured surface until it’s about ½ inch thick. Fold it in half and gently seal.
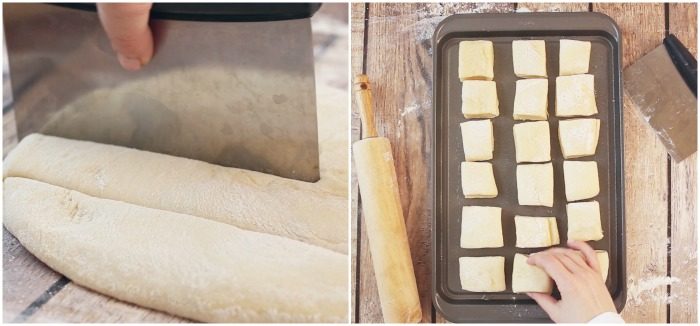
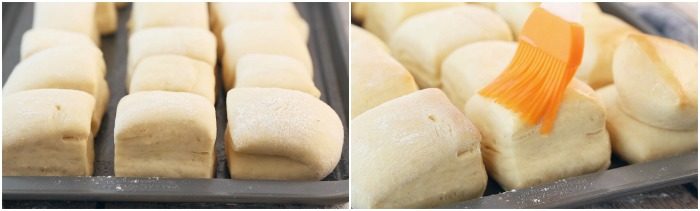
- Cut into 24 squares of even size and place on 2 lightly greased cookie sheets. Cover them and let them rise for 30-40 minutes,, until doubled in size.
- Preheat oven to 350 degrees and bake for 12-15 minutes, or until the top is a light golden brown.
- Melt the remaining tablespoon of butter and brush the top of the rolls.
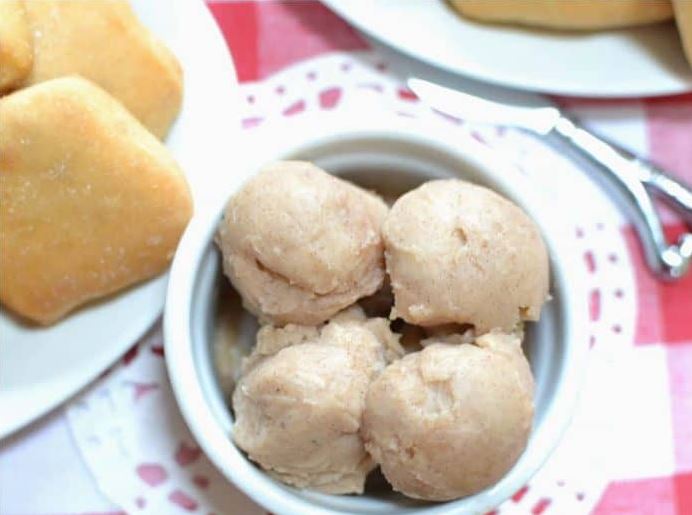
- Serve with Copycat Texas Roadhouse Butter.
If using a Bread Machine:
- Add the ingredients to the bread machine in the order listed above. If your manual indicates a different order, follow that.
- Set the bread machine to the dough cycle, let it do the work from there.
- Once complete, proceed to step 6 above.
Recipe VideoRecipe Notes
SUBBING INSTANT/RAPID RISE YEAST FOR ACTIVE DRY:
- Cooks Illustrated recommends using 25% less yeast if using Instant instead of Active Dry.
- In this recipe, that equates to 1 + 3/4 teaspoons.
- Combine the yeast with the flour instead of adding it to the warm milk.
- Proceed as outlined, no need to let the milk stand for 5 minutes after combining it with the honey.
- Bread flour or all-purpose flour both work well in this recipe.
- Make sure your yeast is fresh and not expired!
IF YOUR DOUGH DOESN’T RISE:
If you’re baking on a chilly Fall or Winter day, it might be tougher to get your dough to rise as it needs to do so in a warm place. These tricks can get you out of a bind, just note that it may take longer for your dough to rise if these methods are needed:
–Method #1: Preheat the oven to 315 degrees and place the bowl on top of a warm spot on the oven. For me, the warmest spot is right in the front of the oven between the front two burners.
–Method #2: Place a baking tray on the bottom rack in the oven. Remove the top rack. Boil water and pour it into the tray, then place the bowl of dough on top and close the door.
-Method #3: (Assuming you have a warm place for the dough to rise but it still isn’t)-Take a new package of yeast and mix it with 1/4 cup of warm water and 1/2 teaspoon of sugar. Let it sit for 10 minutes until it starts to foam. Knead the yeast mixture into the dough, and place it in a warm place to rise.
NUTRITIONAL INFORMATION
Calories: 117, Fat: 2g, Saturated Fat: 1g, Cholesterol: 13mg, Sodium: 122mg, Potassium: 54mg, Carbohydrates: 19g, Sugar: 3g, Protein: 3g, Vitamin A: 90%, Calcium: 19%, Iron: 1%